Trustpilot - Rated Excellent
 Newsletter
One of the questions we get asked most here at Display Wizard is how to assemble a pop up display stand, one of our most popular display stands.
A pop up stand is a great solution for exhibiting at trade shows and other events as it can be put up easily without tools.
This step-by-step guide looks at how pop up stands are assembled. Please see the assembly video to view the whole process:
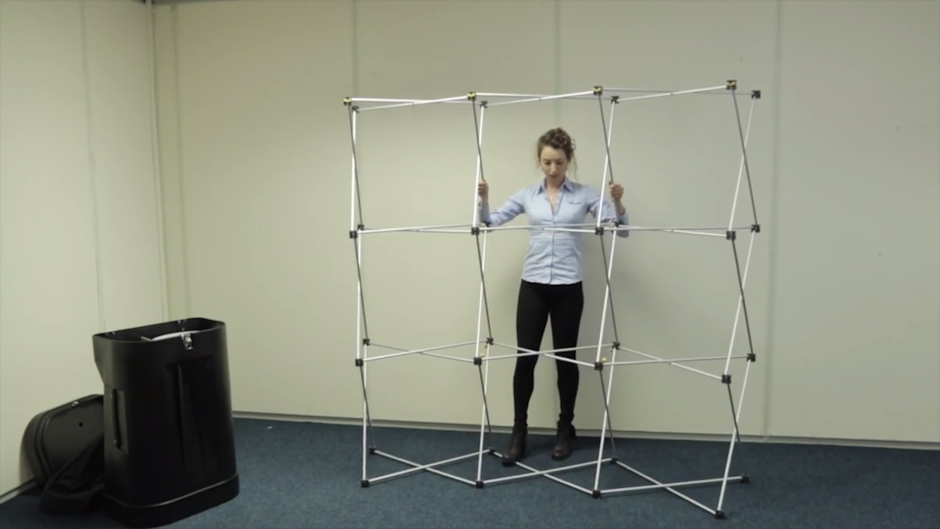
Step 1: Pull Out Concertina Frame
Firstly, simply pull out the concertina frame, ensuring the coloured nodes are at the top of the frame. Make sure the magnetic locking arms click into place to keep the stand secure.


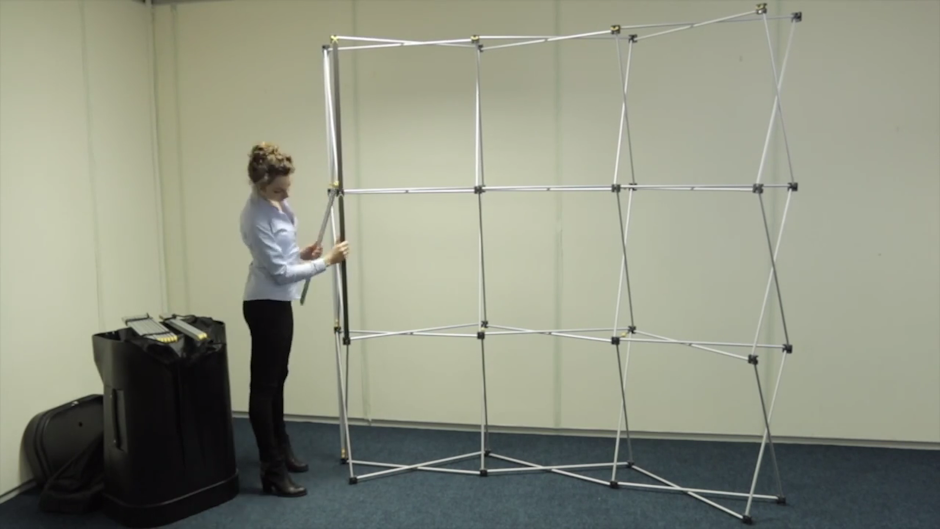
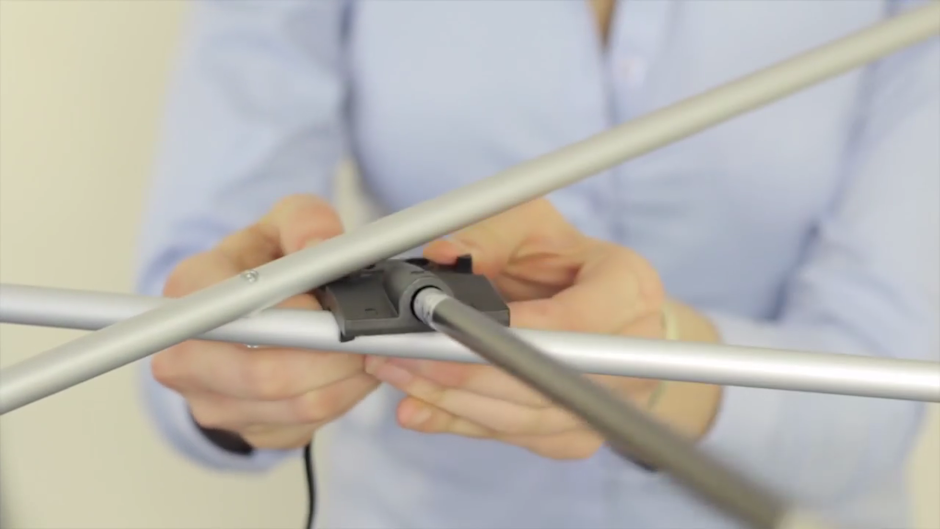
Step 2: Attach Magnetic Bars
After this, you will need to attach the magnetic bars which will give the frame strength and allow the graphics to be attached. These need to be added to every quadrant of the frame that requires graphics including the back of the frame for the D-end graphics.

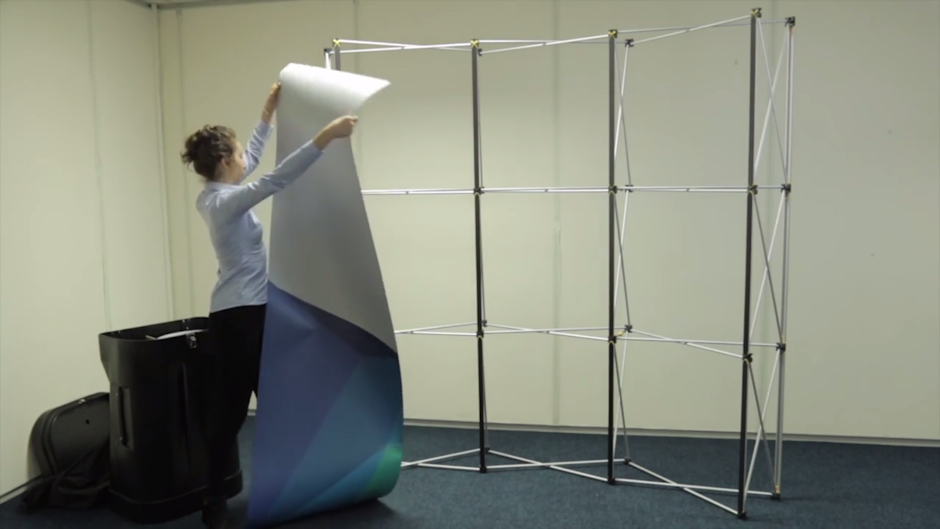
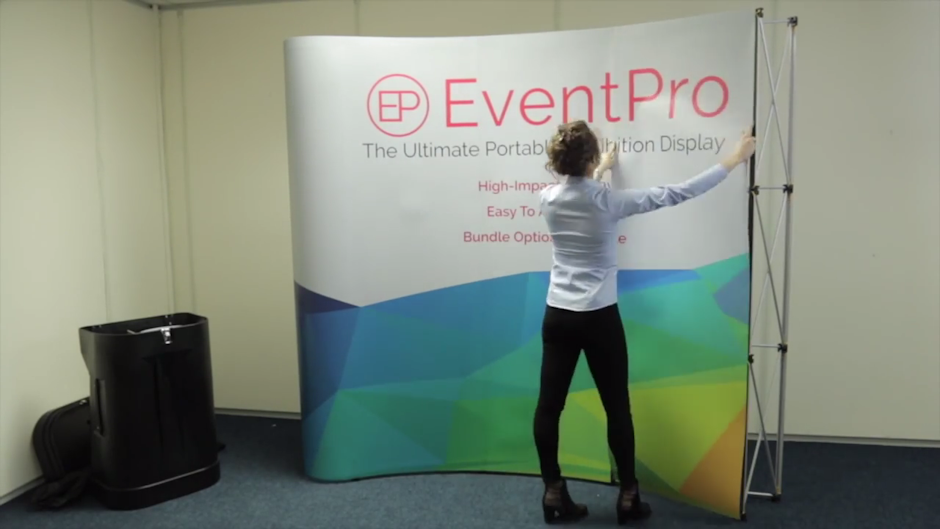
Step 3: Unroll Graphics
The most important part of assembling a pop up display is attaching the graphics correctly. Starting from the left D-end graphic of the display, carefully unroll the graphic to its full length.

Step 4: Hook Graphics on Frame
You will then need to attach the graphic, hanging it by hooking it over the node. You may need to hold the graphic further down the panel and direct the hangers to reach the top of the frame.

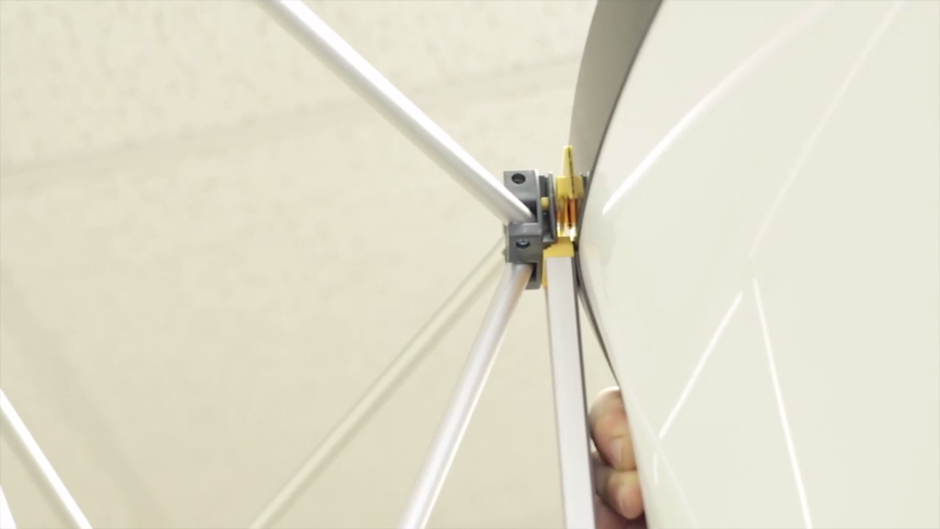
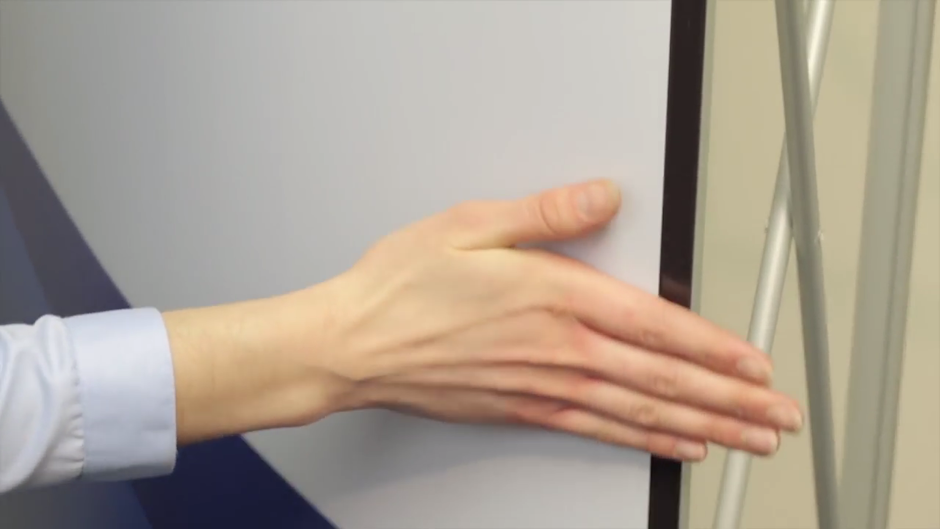
Step 5: Smooth The Graphics Onto Magnetic Bars
Smooth the graphic onto the mag bar, ensuring it sits to one side of the centre line of the magnetic strip. Once you have done this, you can attach the next panel using the same process.

Step 6: Repeat Process, Lining Up Graphics
It is then just a matter of repeating this process for each panel, making sure they are all lined up correctly.

(Optional) Step 7: Attach Lights
If you have purchased a bundle kit, the next step is to hook on the lights for your display.
There is a cross-section moulding on the back of the light which helps it to sit between two sections of the poles. Simply place the light on the frame using the groove on each side of the lights.

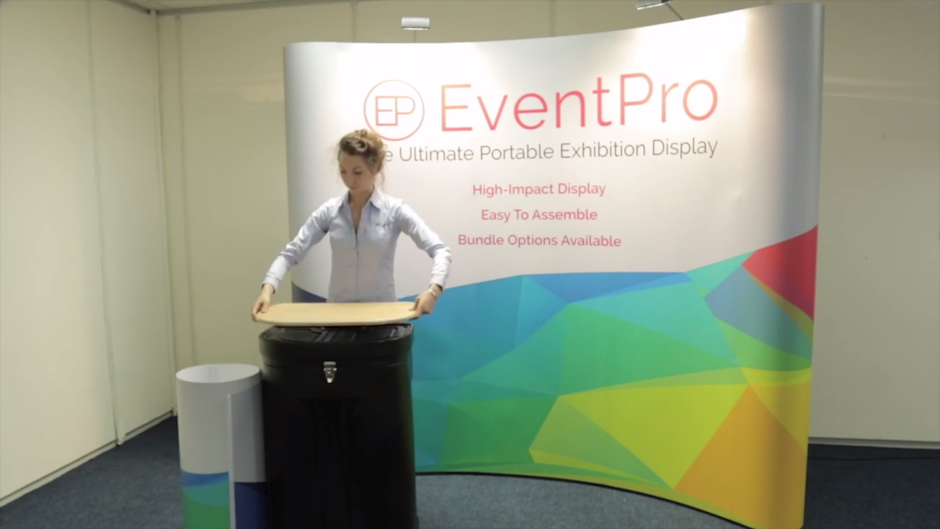
(Optional) Step 8: Assemble Counter
Also available with the bundle option is a case conversion kit, which transforms the carry case into a branded counter. To assemble this, pull out the graphic wrap and counter top from the case. Then you will need to make sure the case is locked shut. Following this, simply place the table top on the case.

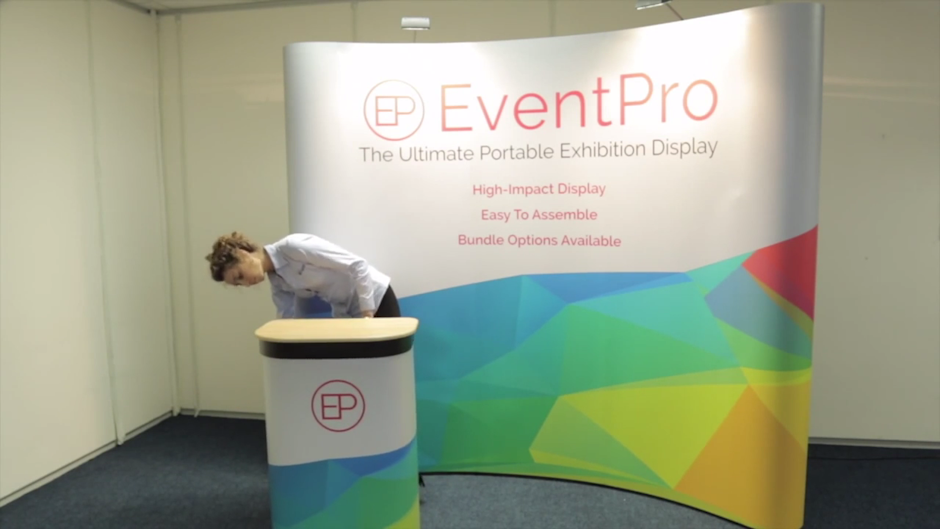
(Optional) Step 9: Attach Counter Wrap
Then simply pull the graphic wrap around the counter, fastening it using the hook fastener strips on the rear of the graphic.

Watch The Video
Watch the video for the whole step-by-step process, or feel free to contact one of our team today for further assistance.
posted in How To Guides
Published: | Updated:


Written By:
Peter Symonds
Peter Symonds is Managing Director at Display Wizard, a Preston based display and exhibition stand provider.
He has over 15 years of experience in the large format print and exhibition industry and has helped grow Display Wizard into one of the UK's leading provider of high-quality display solutions.
Share this Event